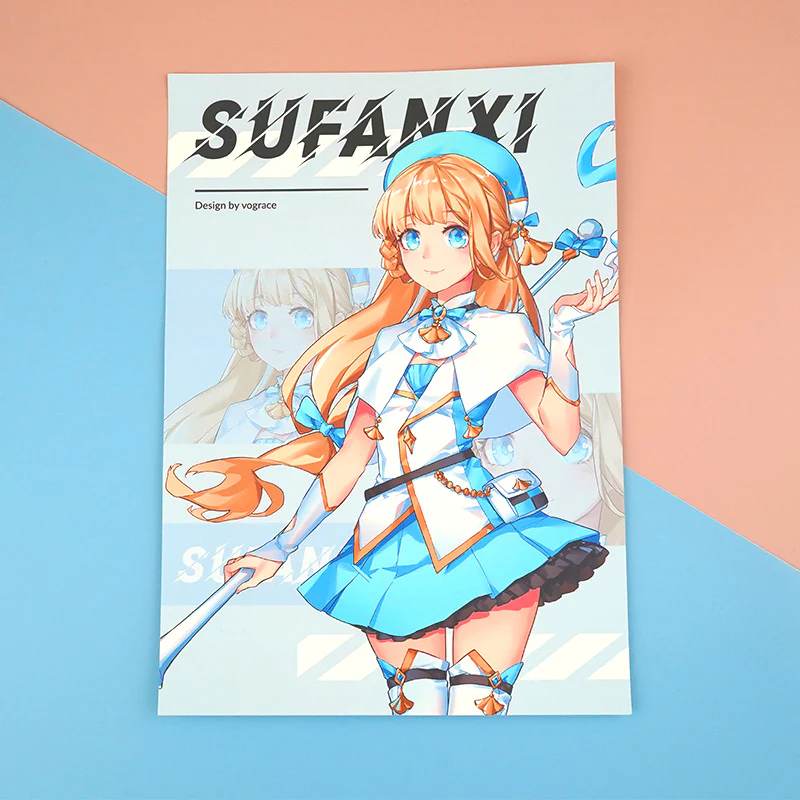
The action of poster printing involves making fairly big printed pieces that have been made for display. Different types of papers are used to produce high-quality images and text, usually for promotional, informational or decorative uses.
Set your design to the correct dimensions and resolution, usually around 300 DPI, if you want to prepare files for poster printing. For accurate print results, convert colors from RGB to CMYK and add a bleed to avoid white edges. Save and export your file in a print-ready format, like PDF, with all fonts and images embedded.
Determine Poster Size and Dimensions
The first consideration in choosing poster sizes and dimensions is the intended use and location of the poster. Common sizes for large posters are 24×36 inches or 11×17 inches for smaller ones.
Check with your printer for any size limitations or specific requirements. Ensure your design matches the chosen size to avoid issues with scaling or cropping.
Choose the Right File Format
Choosing an Appropriate File Format Is Crucial for Printing Quality.PDF, TIFF and JPEG are the commonly used formats with PDF that helps in preserving layout and quality.
The format should be based on the aim of the poster. A PDF would be great for anything that is utterly intricate but JPEG is good for something that is very basic.
Set Appropriate Resolution
Getting your poster output crisp and clear requires the correct resolution.It is recommended that high resolution printing be done at 300 DPI (dots per inch), this is to make sure that pictures do not come out blurry or pixelated.
All the pictures and illustrations within your product must be double-checked for excellence. To ensure that printed materials are not of low quality due to bad resolution always start with high definition files.
Include Bleed and Safe Margins
Including bleed ensures that your poster prints to the edge without white borders. Typically, add 0.125 inches of bleed beyond the final trim size.
Safe margins keep important content away from the edge to avoid it being cut off. Place critical elements at least 0.5 inches inside the trim line.
Embed Fonts and Graphics
- Convert Fonts to Outlines: This prevents font substitution issues during printing.
- Embed Fonts: Ensure fonts are embedded in your file to maintain text appearance.
- Include High-Resolution Graphics: Embed all graphics in high resolution for clear print quality.
- Check Links: Verify that all linked graphics are included and not just referenced.
- Avoid Missing Fonts: Make sure all fonts are correctly installed and included to avoid print errors.
Use High-Quality Images and Graphics
Thanks to the high-quality images and graphics, posters seem professional enough. For keeping details and clarity always use images of an appropriate resolution – they should have no less than 300 DPI.
Do not use low-resolution images or pixelated as they could turn out to be blurry in the printed document. If available, use vector graphics because they don’t lose quality while resizing.
Optimize File Size
Optimizing file size helps ensure smooth printing and easier handling. Compress your file to reduce its size without sacrificing quality.
Be cautious with compression settings to avoid loss of detail. Use file formats that balance quality and file size effectively, like PDF or TIFF.
Proofread Thoroughly
Proofreading thoroughly is essential to catch any errors before printing. Check all text for spelling and grammar mistakes to ensure professionalism.
Review your design for alignment and formatting issues. Look for any inconsistencies or misplaced elements to avoid print errors.
Organize and Flatten Layers
Organizing layers helps keep your design manageable and editable. Group similar elements together and name layers clearly for easy adjustments.
Flattening layers simplifies the file by merging them into one. This reduces file size and prevents layer-related issues during printing.
Verify Printer Compatibility
Verifying printer compatibility ensures your file will print correctly. Check the printer’s requirements for file formats, color modes, and resolution.
Confirm that your file meets these specifications to avoid any issues. This helps prevent delays and ensures the final print matches your design.
Consider Finishing Options
- Choose Finish Type: Decide between options like gloss, matte, or satin to achieve the desired look.
- Plan for Laminating: Consider laminating for added durability and a professional appearance.
- Incorporate Special Effects: If applicable, prepare files for effects like embossing or foil stamping.
- Adjust Design for Finishes: Ensure your design accommodates any finish changes, such as color shifts or texture.
- Consult with Printer: Discuss finishing options with your printer to ensure compatibility and to get recommendations.
Adopt Clear File Naming Conventions
Adopting clear file naming conventions helps keep your files organized. Use descriptive names and include version numbers to easily identify different drafts.
This practice prevents confusion and ensures you and your printer are working with the correct file.Hence, it simplifies tracking change and enhancement.
Conclusion
The poster preparation is a multi-step process that is aimed at achieving a good quality output. First and foremost, the right size must be set up, resolution chosen as well as file format before applying bleed and safe margins to avoid printing problems.
After finalizing your design, make sure to proofread thoroughly and optimize the file size. Consult with your printer for any specific requirements and consider finishing options to enhance the appearance of your poster.


